Get a No-Obligation Quote
We respond within 2 hours during business hours.
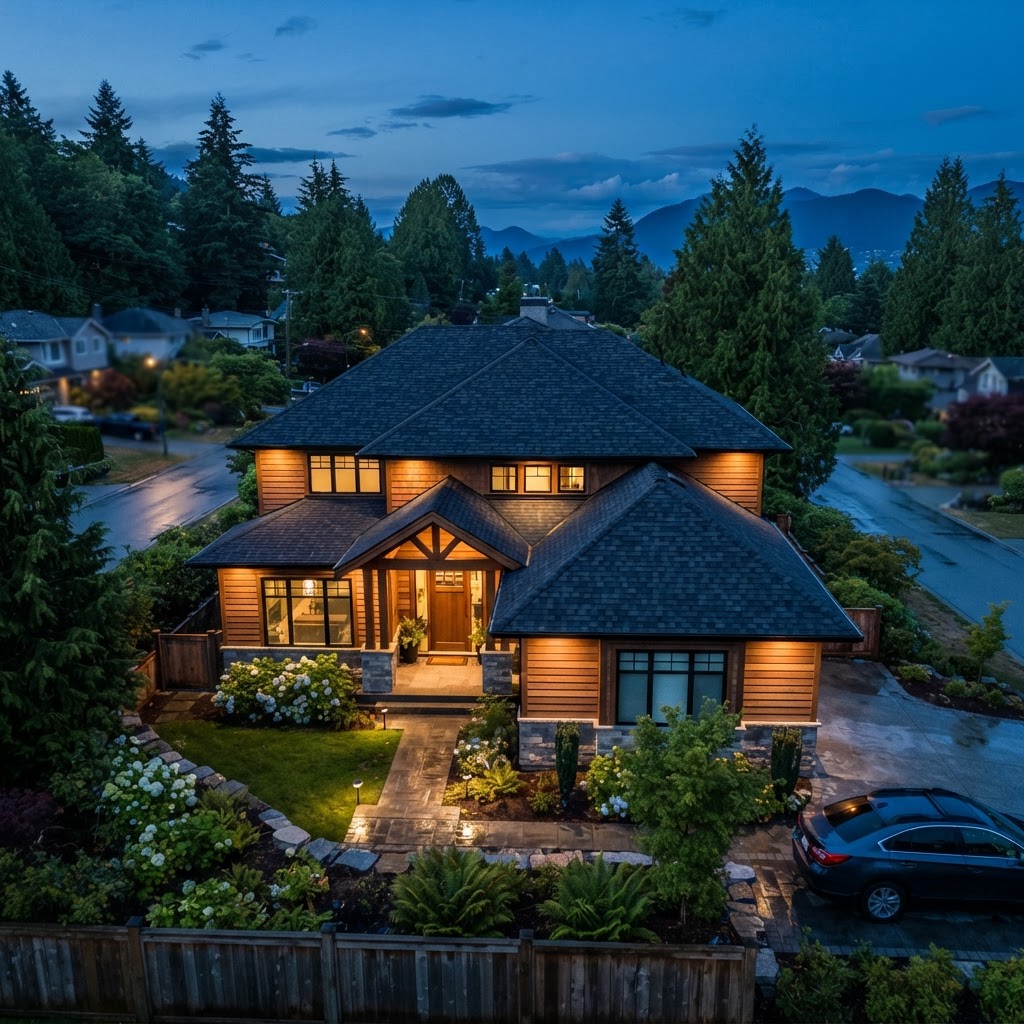
This cedar shake to asphalt conversion in Coquitlam is one of the biggest reroofs we have finished this fall, and it is a good example of what really happens when an old cedar roof comes off. The house sits on a hillside lot surrounded by tall firs and cedars, and the original shake roof had reached the point where patching was no longer worth it. Below we walk through what we found, what we replaced and why, using our own photos from before, during and after the job.
Every step here was inspected and quoted by our founder, Rasheed, and carried out by our own crew. If you own an older cedar roof in Coquitlam, Port Coquitlam or Port Moody, this is very close to what a conversion on your home would look like.
What We Found on This Coquitlam Cedar Roof
From the street the roof just looked dark. Up close it was a different story. Thick moss covered most of the shaded slopes, especially the back of the house under the trees, and it was holding water against the wood after every rain. Many shakes were split, cupped or missing entirely, and the hip and ridge shakes had weathered down and cracked. Needles and moss had packed into the valleys, which is exactly where water should run off fastest.
- Heavy moss across the north and tree-shaded slopes
- Split, cupped and missing shakes, with bare spots showing on the back slopes
- Weathered, cracked hip and ridge shakes
- Valleys packed with moss, needles and debris
- Old roof vents and plumbing flashings due for replacement along with the roof
On a cedar roof in this condition, moss is a symptom as much as a cause. Once shakes start splitting, water gets into the layers below and the wood never fully dries out between storms. At that stage a moss treatment only buys a little time, so we recommended a full conversion to asphalt rather than spending the homeowner's money on repairs that would not last.
Before
 Before
 Before
 Before
 Before
Work in Progress
 Work in Progress
 Work in Progress
 Work in Progress
After
After After
 After
 After
 After
Drag to Compare: Before vs After
Step 1: Stripping the Cedar Shakes
The first job was removing every shake, the felt interlay between the courses and the old ridge caps, and getting it all into the bin without damaging the gutters or the garden below. Cedar is bulky, so disposal is a bigger part of a conversion than a normal asphalt tear-off. Throughout the job our crew worked in fall-protection harnesses tied off to anchors, which is standard practice for us on every roof. WorkSafeBC's guidance on falls from elevation explains why that matters on steep, wet roofs like this one.
Step 2: Replacing Rotten Strapping
Cedar shakes are not nailed to a solid deck. They are installed over spaced boards, usually called skip sheathing or strapping, so air can move around the wood. Once the cedar was off we could see the strapping clearly, and some of it had rotted where water had been getting through the split shakes for years. We replaced every rotten board before going any further. If you skip this, the new deck above has nothing solid to fasten to in those areas.
Step 3: New Plywood Sheathing Over the Whole Roof
Asphalt shingles need a continuous, solid deck. That is the key difference between a cedar conversion and a regular reroof. We sheathed the entire roof in new plywood, fastened through to the strapping and framing, so the shingles have a flat, nailable surface everywhere. In the work-in-progress photo you can see the new plywood going down over the old spaced boards on one side of the roof while the other side is already covered.
Step 4: Underlayment and Ice-and-Water Protection
With the deck finished, we installed self-adhered ice-and-water protection in the most vulnerable areas and Malarkey Secure Start PLUS synthetic underlayment across the roof. The underlayment is the second line of defence: if wind-driven rain ever gets past a shingle, this layer keeps it off the wood. On a Coquitlam hillside that sees a lot of fall and winter rain, this layer is not somewhere to cut corners.
Step 5: Malarkey Shingles, Ridge Caps, Valleys and Vents
For the finished roof the homeowner went with a full Malarkey system. We installed Malarkey architectural asphalt shingles and matching Malarkey hip and ridge caps, using low-profile and high-profile caps where each suited the roofline. The valleys were finished as open metal valleys with pre-finished flashing, which shed water and needles quickly. New roof vents and new pipe flashings went in at the same time, so there is no old component left on the roof waiting to fail.
- Malarkey architectural shingles
- Malarkey Secure Start PLUS synthetic underlayment
- Malarkey hip and ridge caps (low and high profile)
- New plywood sheathing over repaired strapping
- Ice-and-water protection in vulnerable areas
- Pre-finished open metal valleys
- New roof vents and pipe flashings
As a Malarkey Certified contractor, using one manufacturer's components together also keeps the system consistent for the material warranty. Ask us which Malarkey warranty applies to your roof, because coverage depends on the products and installation used.
Before and After: What Changed
Compare the same views in the photos above. The street-facing slopes went from patchy, moss-covered wood to clean, even shingle lines. The back slopes under the trees, which were the worst part of the old roof, now have a smooth surface and open valleys that let water run straight to the gutters. You may notice a few needles already sitting in the new valleys in the after photos. That is normal on a lot surrounded by conifers, and it is why we recommend a quick gutter and valley clean each fall.
What This Means If You Own a Cedar Roof in Coquitlam
Many homes on Westwood Plateau, Ranch Park, Eagle Ridge and other established Coquitlam neighbourhoods still have original cedar roofs. If yours shows the same signs as this one, a conversion is usually the better long-term choice. Every roof is different, though, which is why we inspect first and give you photos and an itemized written quote before anything starts.
- Split, cupped or missing shakes on several slopes
- Moss you can see from the ground, especially under trees
- Leaks that come back after patching
- Soft spots when the roof is walked on
Learn more about our cedar shake to asphalt conversion service, see roof replacement in Coquitlam, or read our Coquitlam roofing cost guide to understand what drives the price of a project like this.
Do you have to replace the strapping when converting a cedar roof to asphalt?
Why does a cedar shake to asphalt conversion need new sheathing?
What materials did you use on this reroof?
How much does a cedar shake conversion cost in Coquitlam?
Can moss treatment save an old cedar roof instead?
Thinking about converting your own cedar roof? Call Red Maple Roofing at (778) 239-1701 or request a free estimate. Rasheed will inspect the roof, show you photos of what he finds and give you an honest recommendation for your Coquitlam home.